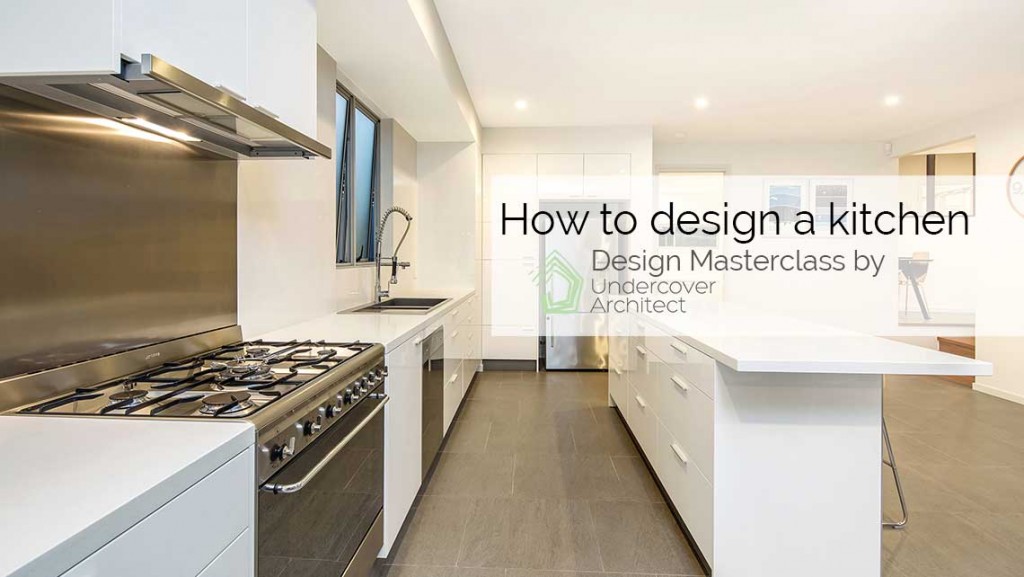
Want to know how to design a kitchen that makes your life simpler and your home work? Saving time, energy and money? Here’s how to get it right.
When it comes to renovating our homes, kitchens hit the top of the list in improvements that homeowners choose to make.
And in creating new homes, getting it right in the design of the kitchen is often where attention is focussed too.
It stands to reason … in terms of the ‘machinery’ of our homes that make our homes work functionally and seamlessly, the kitchen plays a big role. Even though for those of us with kids, it may feel like we spend our whole lives there (!) we actually don’t. We actually spend bursts of concentrated activity at certain times of the day … and the kitchen just needs to work ensure this can be integrated into everyday life smoothly.
Given the nature of our busy lives and homes, the kitchen often takes pride of place in our home. Open plan design means the kitchen is on display whilst we relax and entertain … and our ability to do several things (keep an eye on kids, have conversations with family and friends, etc) whilst using our kitchen, means it often is celebrated as the heart of our home.
Creating a well-designed kitchen involves bringing several critical factors together. I like to think of these as bringing energy efficiency into your design.
What does this mean? It’s not just green-speak. It means making the most of what is available for free (sun, breezes, visual connections, flow of activity) to save energy, time and money in the spaces you create.
The kitchen benefits from this approach more than most spaces in our home.
So, here are my tips for how to design your kitchen so that it is energy efficient (both in your energy, and in the stuff you pay for!) and well designed.
Tip Number 1: Locate your kitchen for the best orientation.
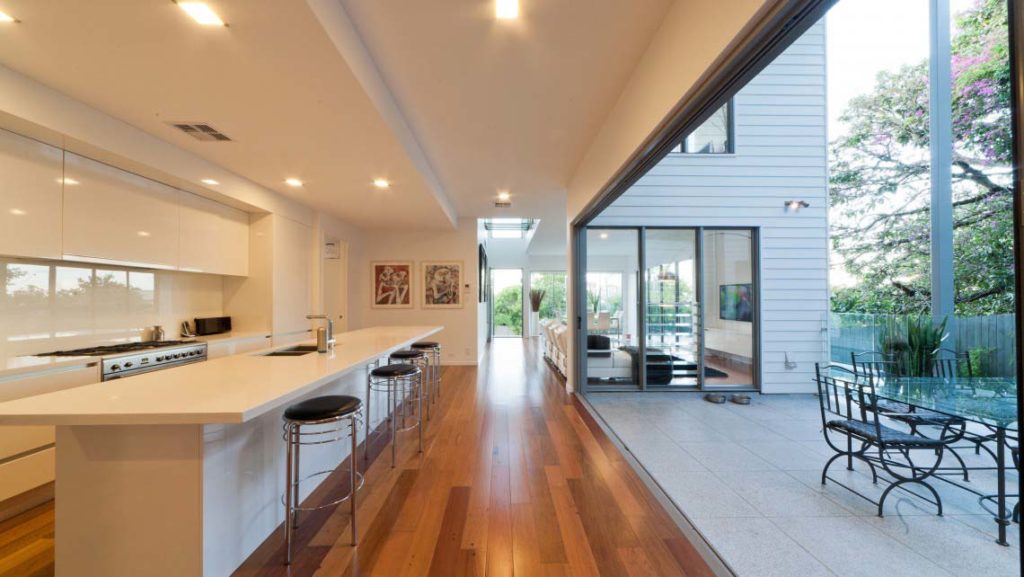
Kitchens get used throughout the day, especially at meal times (of course), so think about locating your kitchen to optimise this. Locating them on the east so they get that morning sun means they’re bright and well-lit spaces to enjoy at that time of the day. In winter, getting that morning light warming up the floor of a kitchen means the space isn’t cold and frosty during brekkie.
Kitchens can also be located on the north but not at the cost of giving this orientation to your living areas, where it has much more impact on the enjoyment of those spaces.
Locating your kitchen on the west can be challenging, especially in summer as you’ll have indoor air not only being heated by the use of appliances such as your oven, but also from the afternoon sun.
South (or north if you’re in the US) is good for a constant even light, as long as you’re able to get warming sunlight heating an adjacent area in winter – so you’re borrowing from those spaces by close association. This leads me onto Tip No. 2.
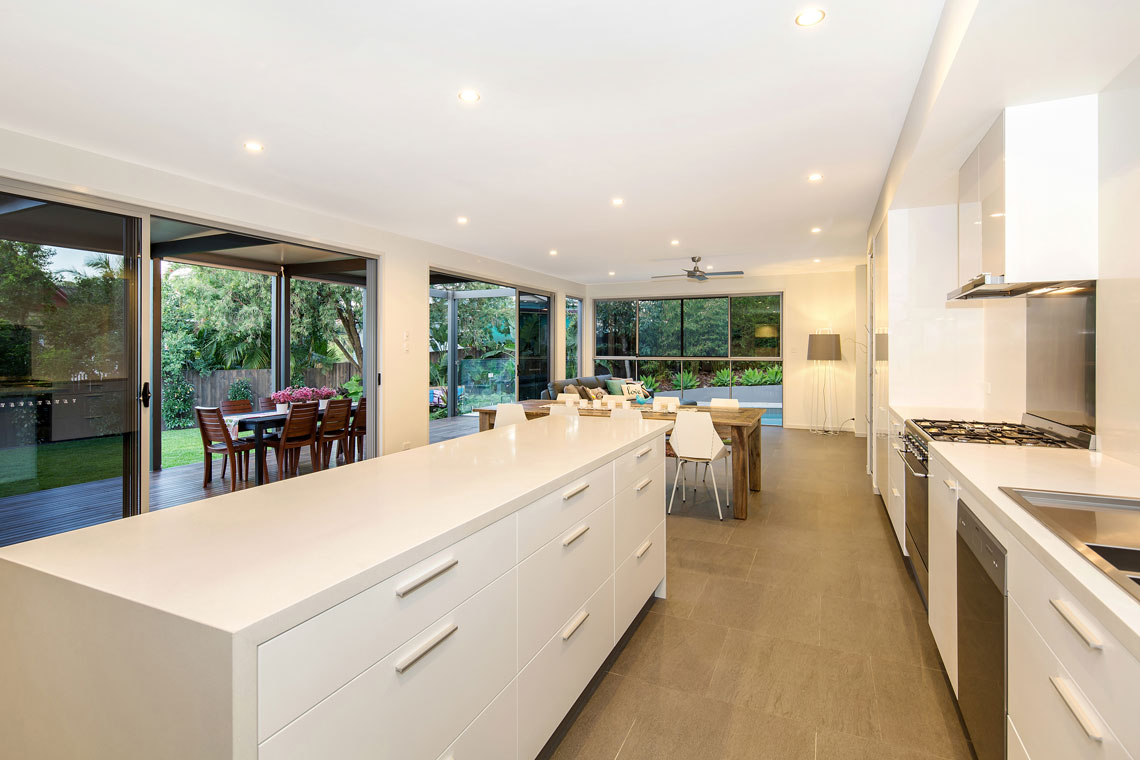
Tip Number 2: Ensure your kitchen does or can (in the future) connect well with the spaces it needs to … namely living, dining, outdoors, laundry
I’m a big believer in mentally rehearsing how you want a space whilst you’re designing it. This means picturing yourself mentally in the space, and imagining all the things you’d like to be able to see, access and do.
Energy efficiency in a kitchen can also relate to YOUR energy and being efficient about its use.
So being able to manage a few tasks at once certainly deals with this. For example:
- putting a load of washing on whilst you’re making brekkie works better if the laundry is near the kitchen
- going through the mail whilst you’re making a coffee means having that homecoming dumping ground, or a study nook, nearby
- convenience in bringing groceries home after shopping or having them delivered, means easy access from the garage or entry to the home
- being able to jump up and get a drink or a snack from the fridge, or entertain a tribe of people, means having easy access to your living and dining areas, and outdoors
- if you’re at home in the afternoons with the kids, having them outdoors and burning off energy whilst you get dinner sorted, means being able to supervise them from the kitchen.
It’s a web of connectivity and relationships that can be nutted out with this mental rehearsal, and imagining the space and how you want it to perform.
Then create a hierarchy in what you come up if it’s not all perfectly achievable for you in your design.

Tip Number 3: Consider your plumbing arrangement to maximise efficiency of water runs (especially hot water)
When I was at Mirvac, there was a maximum number of seconds that it could take for cold water to become hot when turned on. From memory I think it was 10 seconds, so all plumbing was designed to achieve this.
Locating your wet areas near each other – so bathrooms, laundries and kitchens – and then putting the hot water unit near those rooms, will mean hot water is delivered faster, and you’ll save energy and water by doing this. Think vertically as well and put wet areas over the top of other wet areas.
So upstairs bathrooms over the kitchen, for example.
You can put heat traces on lines if your hot water runs are getting too long – which are basically a type of insulation on the pipework.
However, being clever about where plumbing runs and how far will save money both in installation and use, and energy also.
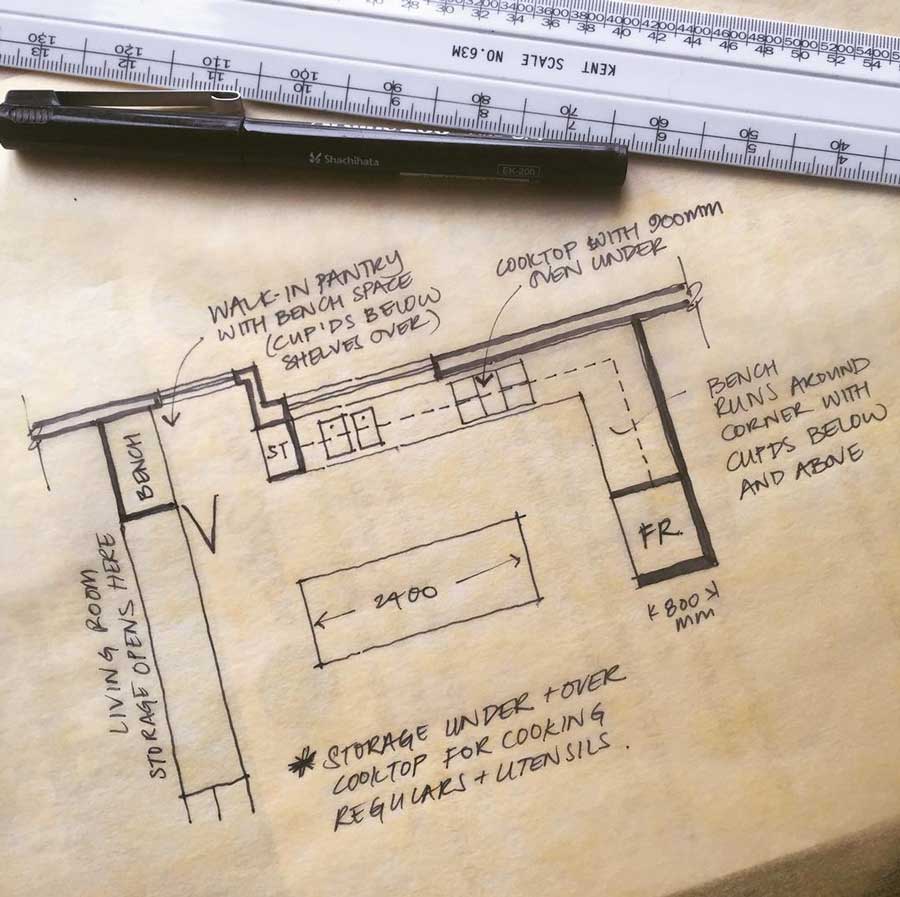
Tip Number 4: Design a layout that maximises the functional working of the kitchen – in storage, movement in and around it, and access to it from other areas.
There’s lots of info available online about working triangles in kitchen and optimum spaces between and around things.
I’ve seen kitchens working in lots of different ways that also ignore the rules of these working triangles, because of the different ways they are used by their owners. I really think about it from a few angles.
Firstly, I think about where the fridge is located, and can you get to it easily from outside the kitchen – say from the living area or the outdoor entertaining area. People coming for drinks or snacks can be disruptive within the work zone, so locate your fridge on an ‘end’ and away from your cooking hub.
Secondly, I think about the cooking hub. You may prefer wall ovens to underbench ovens. You may be happy with a small cooktop, or want a massive one. This will largely depend on what type of kitchen user you are, and whether you really enjoy cooking. However, the main thing to think about is how you get ingredients to these cooking locations, and how you get hot finished cooked products off and out of them. Look at where your prep spaces are so you’re not too far away.
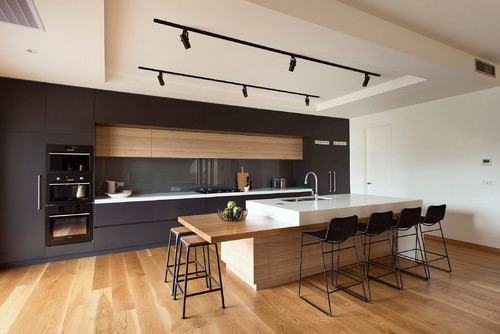
Ideal spacing between an island and a back bench (so a prep space and a cooking hub) is 1200mm which is a step-and-a-half. It also means two cupboard doors or drawers can be open opposite each other and not smash into each other, as most joinery is 600mm deep. Where will you put that hot saucepan down, or take it to a sink to drain pasta, etc. Look at how you locate the working zones according to that. (Tip Number 6 contains more info about recommended dimensions).
Thirdly, I think about the dishwasher, and how it will open, and what will need to be stacked and unstacked from it. Can cupboards and drawers be opened whilst the dishwasher is also open? Can you get dirty items simply from benches and sinks where they’ve been dumped, into the dishwasher. And how much walking are you doing around the kitchen to put away all those small and regularly used items, like glassware and cutlery.
Tip Number 5: Select the most appropriate appliances to install
This relates to both your kitchen appliances AND your tapware.
You may have a preference of whether you want to cook on gas, induction or ceramic cooktops, and what type of oven you wish to use. Pay attention to the star rating tools used to provide energy information on the appliances, as any energy savings in their regular use will save you money long term.
You also need to consider its WELs rating, which will help you save water. WELS is Australia’s water efficiency labelling scheme. It allows consumers to compare the water efficiency of different products by requiring that certain products have water rating labels at the point of sale or display/advertising.

Tip Number 6: Know your dimensions
Determining how you will get your kitchen fabricated BEFORE you design it can inform THE WAY you design it.
It’s worth remembering that every kitchen is made from something that is supplied in sheets. So all kitchen carcasses, drawers, cupboard fronts, benchtops … all exist as flat material initially.
If you’re planning a bit of DIY from flatpacks, research the available sizes and modules first, and design the space around making an off-the-shelf solution as workable as possible. Sometimes you can get this to work for 90% of your kitchen, and get a joiner to custom-make the remaining 10% … and bring down your cost overall.
If you’re getting a joiner to make your kitchen, working to modules of 300mm or 600mm will help you utilise standard sizes and minimise wastage with materials.
Here are some main dimensional criteria to know:
- Standard below-bench kitchen cupboards are 600mm deep.
- Standard above-bench kitchen cupboards are 300mm deep.
- Use 900mm as a minimum kitchen benchtop height (I actually do 930mm now, as people are getting taller!)
- Your overhead cupboards will be between 600mm and 700mm above your benchtop. Check your rangehood set out requirements (they have a max sucking distance!) to set this height.
- Fridge recesses need 800mm depth generally, which is deeper than standard joinery.
- I generally allow 900mm width and 1800mm height for fridge recesses for maximum suitability to different fridge brands.
- Appliances like dishwashers, ovens and cooktops are generally 600mm wide … unless you choose the 900mm versions.
- In galley kitchens, allow 1,100 – 1,200mm between benchtops. Bigger and space between benchtops is too much for easy movement between. If you go much smaller, you’ll have trouble opening / using drawers and cupboards opposite each other.
- If using stone benchtops, know the slab sizes of your preferred brand to avoid joins within benchtops, and to minimise waste, as you’ll usually pay for the whole slab.
- Island benches that are shorter than 2,400mm look stumpy – so change the width if you don’t have the space for this size island, and make it a squarer shape to work proportionally.
I try to avoid U-shaped kitchens generally … in my experience of using them and seeing them, they’re challenging to design and use well unless you create custom joinery solutions for the corners. Go for galley, L-shaped or even just a continuous back bench (no island) if you don’t have sufficient space.
Finally …
Your kitchen will be a cost-intensive AND attention-intensive area in your home build or renovation. Square meterage rates go out the window when considering this area of your home.
Buy the best you can afford, but don’t overdo it. Whether a kitchen has marble benchtops or Laminex will impact its functionality very little. We can very quickly get seduced by all the whizz bang storage solutions and beautiful surfaces.
One piece of advice I give homeowners regularly is to remember you can retrofit. In ten years time, after your little kids have trashed and bashed your kitchen, you can pull out the old and replace it with new. Or at the very least, replace the cupboard/drawer fronts and benchtops.
Invest in what will matter … the overall space and layout … the dimensions and arrangement. Put your kitchen in the right place in your home. With great connection to outdoors and views over internal and external living areas. Consider creating space to enlarge it down the track if you can’t afford it all now. Build in flexibility to expand and change, but don’t sacrifice all its functionality for your needs now.
For more on kitchens (and the other rooms in your home), check out Season 2 of the podcast “How to Design a Home”.
 With over 30 years industry experience, Amelia Lee founded Undercover Architect in 2014 as an award-winning online resource to help and teach you how to get it right when designing, building or renovating your home. You are the key to unlocking what’s possible for your home. Undercover Architect is your secret ally
Thanks for the wonderful advice! We are FINALISING plans for a new build & I’ve been concerned about the LAYOUT of our kitchen. I think it works OK BASED ON your advice except for the orientation ( it couldn’t be helped, just the way the floor plan worked ). It’s also great to Have advice from a female who thinks more about the use of space & having the ability to multi task while in the KITCHEN!
Hi Brigid – thank you for your kind feedback, and I’m so glad you found this information useful (and very timely by the sounds of things!) When kitchens work well, it makes SUCH a big difference to how your home feels overall. Best wishes with your new build plans and the home you’re creating – Amelia, UA x
Thanks for sharing, all good to know stuff
Glad you found it helpful, Elaine – thanks for your comment.
– Amelia, UA x
Hi Amelia,
Thanks for all the great info on kitchens.
A question…
We have high ceilings throughout our house and wondering what you recommend doing in the Kitchen. Especially above wall hung cupboards where a void can be created. These areas seem to be dumping grounds and traps for dust and grease.
Thanks!
Mike
Hi Mike,
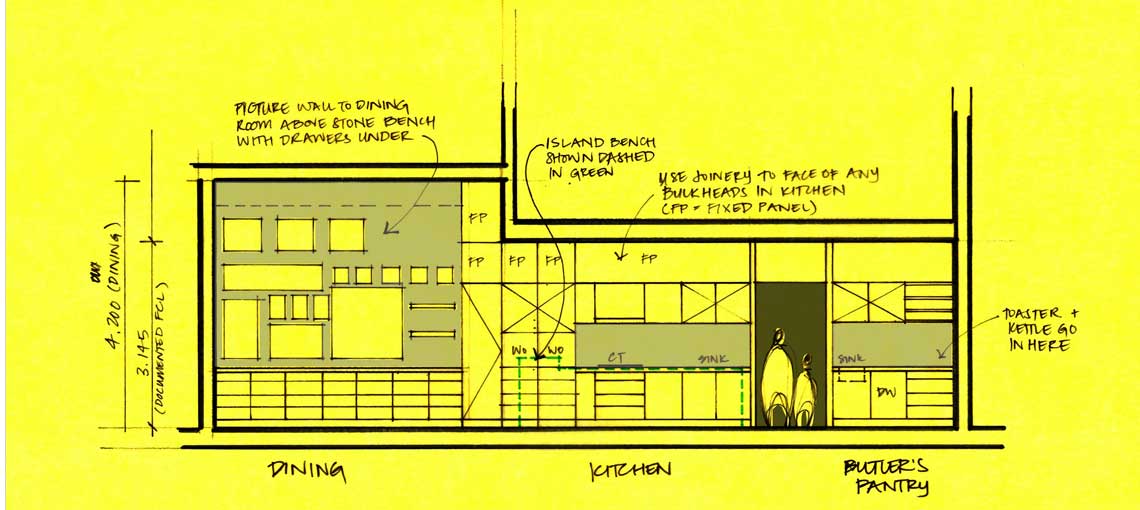
You’re welcome. I always recommend bulkheads over kitchen cupboards. This prevents the top of the joinery being exposed (and a shelf for dust and grime). You can also drop the whole ceiling over the kitchen.
– Amelia, UA
Thanks for the useful advice Amelia. I’m in the process of building and am planning for a kitchen with U-shaped butlers pantry/laundry. This info will aid my discussions with my joiner.
Hi Jenny,
You’re welcome! There’s loads more about kitchen design on the UA blog, and there’s also a couple of episodes in Season 2 of the podcast (one about kitchens, and the other about butler’s pantries). Best wishes for your build,
– Amelia, UA
Hi Amelia,
Thanks so much for your putting this all together. Your advice is so succinct and understandable. It has given us a great framework to work through our design ideas. It is lovely to have the information on your podcasts as well as your website. We have found it incredibly helpful. Thank you so very much!
Irene and Mark
Hi Irene and Mark
You are very welcome – thank you for your kind feedback. I’m so glad it’s been helpful for you, and best wishes for your project!
– Amelia, UA
Hi Amelia
Thanks for all your information. What size would look & function better for an island bench – 3000 mm x 1200 mm or 3000 mm x 1400 mm? Space is not an issue.
Toni
Hi Toni
You’re welcome. It’s difficult to say in isolation as it will relate to your overall kitchen and room. You’ll also need to consider the joinery you’re putting under it, and how you’re supporting the overhang (so whether the 1200mm or 1400mm is do-able with that joinery design). I generally do 800mm – 900mm depth for joinery and overhang to work.
– Amelia, UA
Hey Amelia, thanks so much for all your info, have been following you for a while and love what you do. Wondering if you have advice on dimensions for how much space to leave to open a French door fridge if it’s going into a corner on its own? I know you say 1000mm for standard joinery for a fridge but is there a size you’d recommend so that both doors can open fully without leaving too much wasted packed out space?
Hey Kate – thanks for your kind feedback – I’m so glad you’re enjoying UA. In regards to your width, it’s going to come down to the individual fridge model, as they can have different thickness of doors. If you’re wanting the doors to open within the fridge recess, you’ll need to take this into account. Otherwise, you can create the fridge recess so the fridge sits a little proud, so the doors are opening up outside of it. All the fridge manufacturers have detailed dimension information on their websites, so it’s worthwhile examining it for the model you have or want to get. Corners are always really tricky locations for fridges – you may want to include a narrow broom cupboard beside it (in the corner) so you can bring the fridge off the wall, and enable its doors to open more than 90 degrees.
Hope that helps!
– Amelia, UA