Want to know how easy a Kiiko LED customisable strip light fitting is to assemble? Read on …
Have you been listening to Season 3 of the podcast? It’s been getting great feedback, and is all about how to set, and stay on your budget. And season 3’s podcast partner is Kiiko. LED.
Kiiko LED is customisable, DIY, LED strip lighting, that you can order online to your specifications, for your needs and project.
Kiiko LED is founded by Craig Thomas, who I’ve personally had the pleasure of working with for over 12 years now, in my own projects, and in client projects.
I ordered a Kiiko LED light fitting myself to see how the process happened, what arrived and how simple the fitting was to assemble. Want the short version? It was super simple. Here’s the longer version …
ORDERING ONLINE
The beauty of Kiiko LED is that the website enables you to order and customise your fixture via the website.
Have any questions? You can email the Kiiko team, or pick up the phone (they’re based in Brisbane). Let me show you how I did it …
And then I waited for my package to arrive. The fixture came in two boxes. One for the diffuser and channel, and another with the transformer, LED lighting strip, and the fixing and end channels.
This is what the contents looked like.
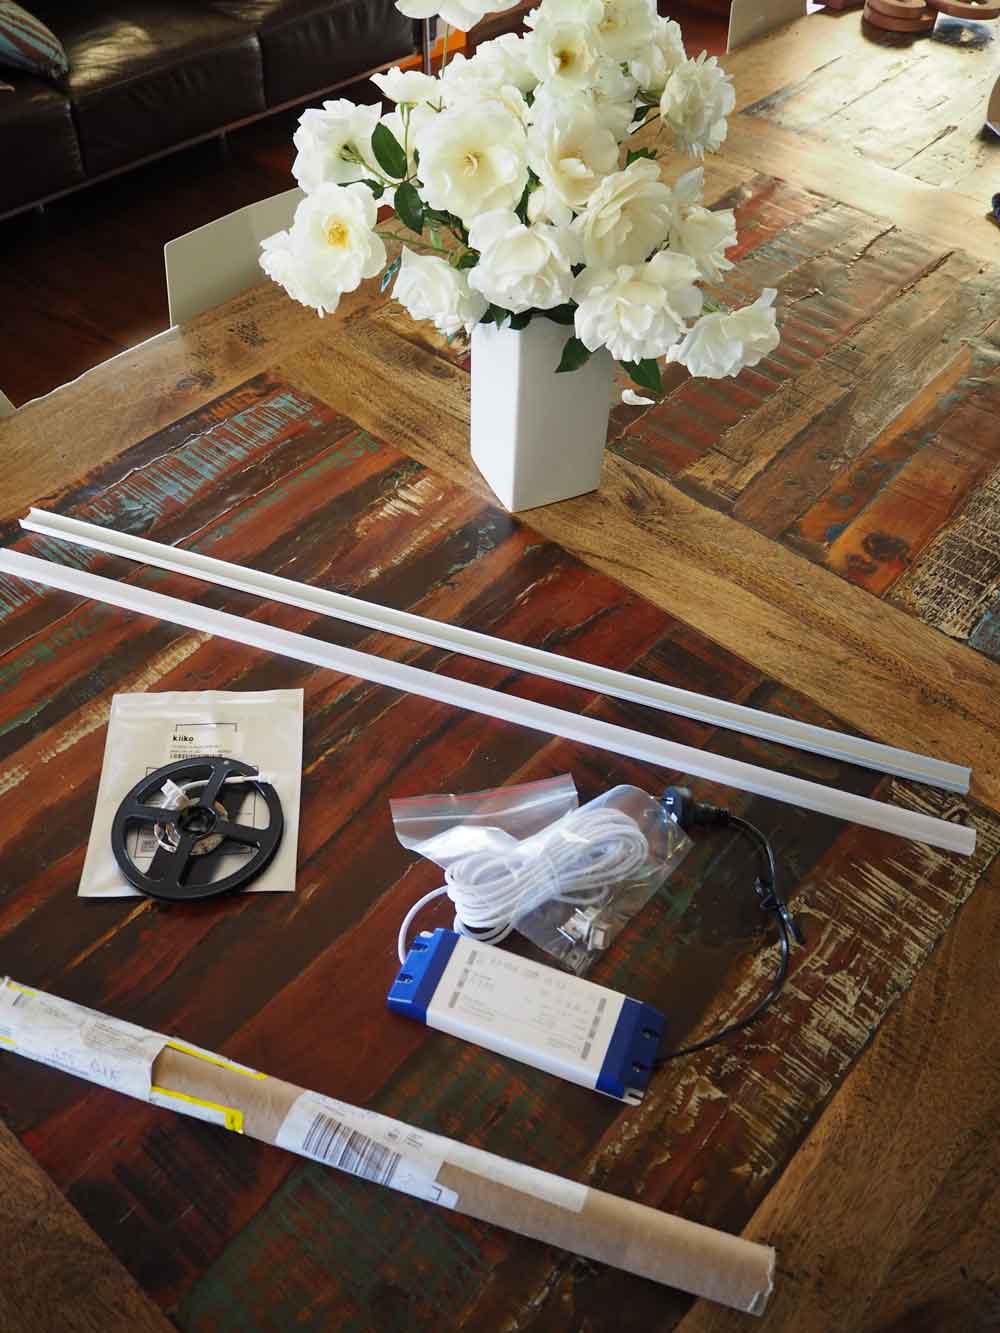
All the components I received in the post!
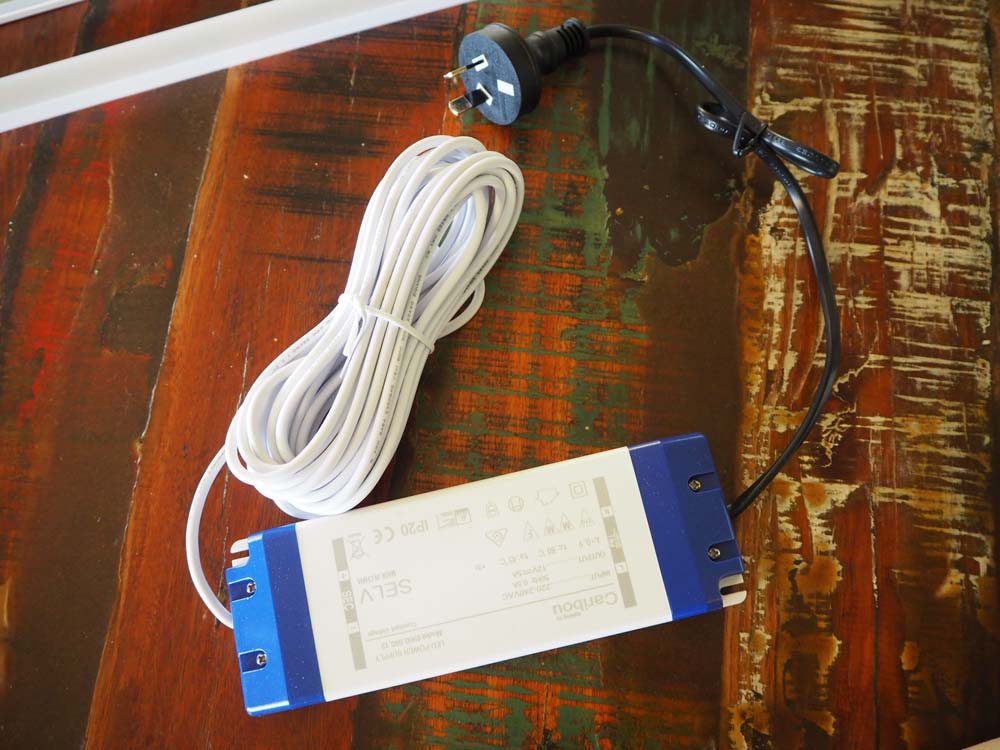
This is the transformer with the plug attached (you don’t need to plug this in for it to work – you can get an electrician to connect it into your house wiring, and to a switch)
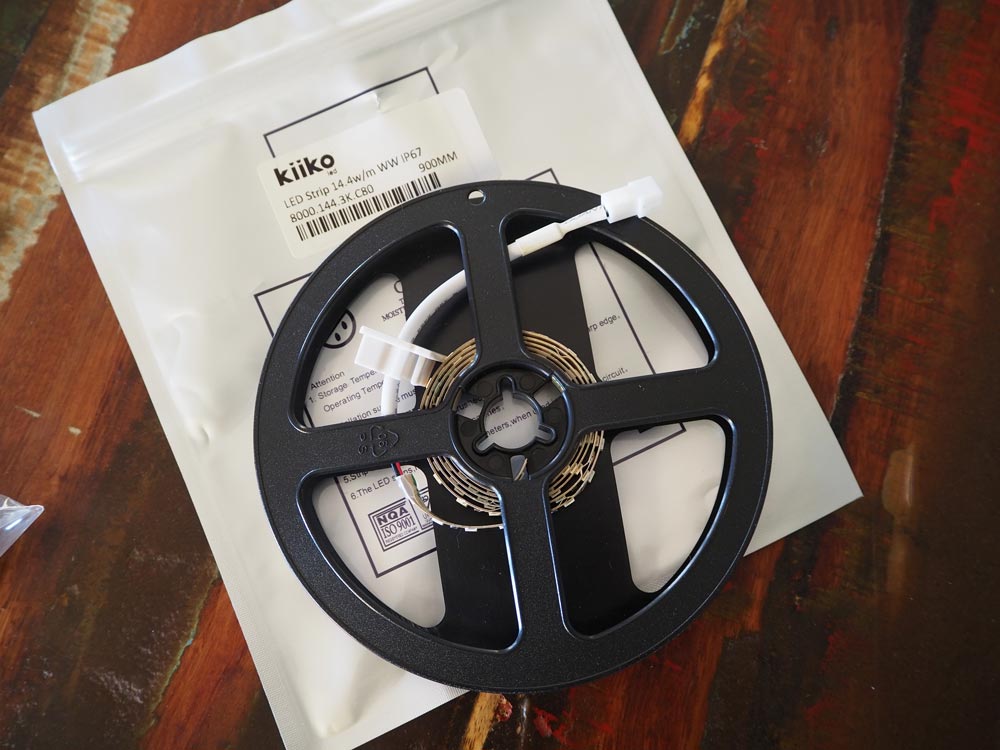
This reel has the LED light strip rolled around it neatly
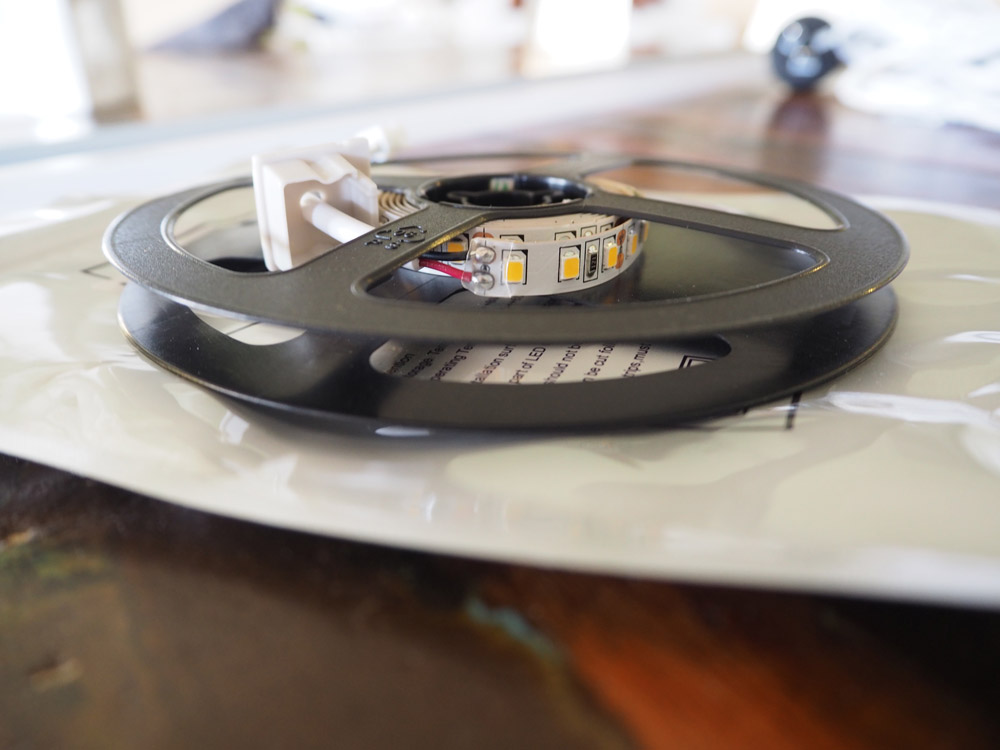
Here you can see the LED lighting strip
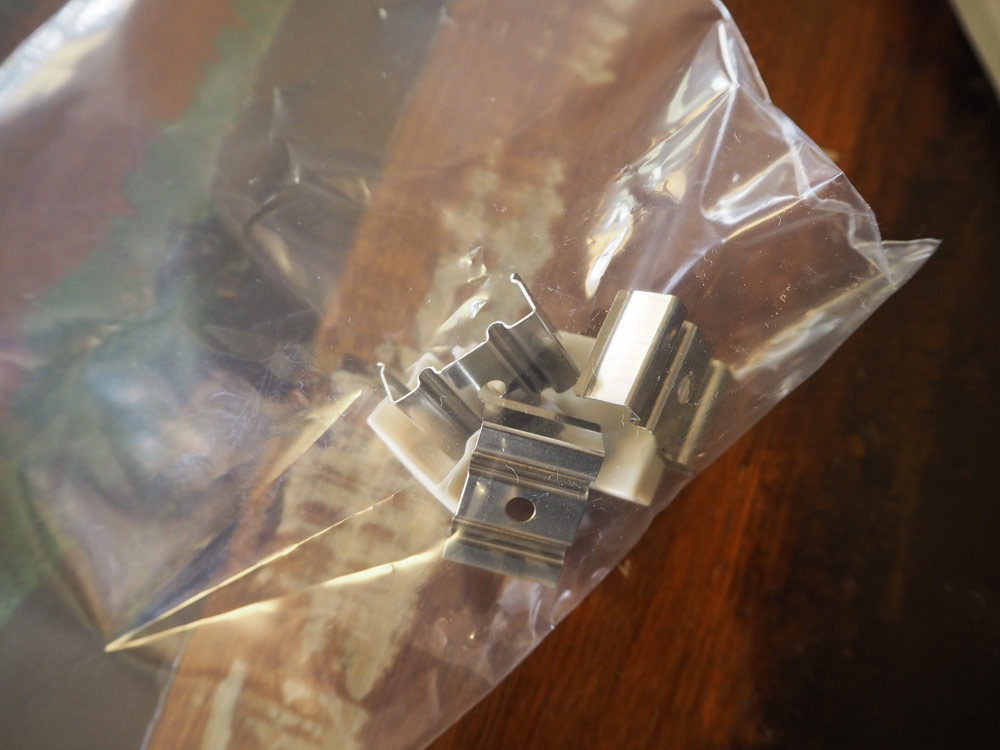
The end caps for the lighting fixture and the clips for fixing it in place
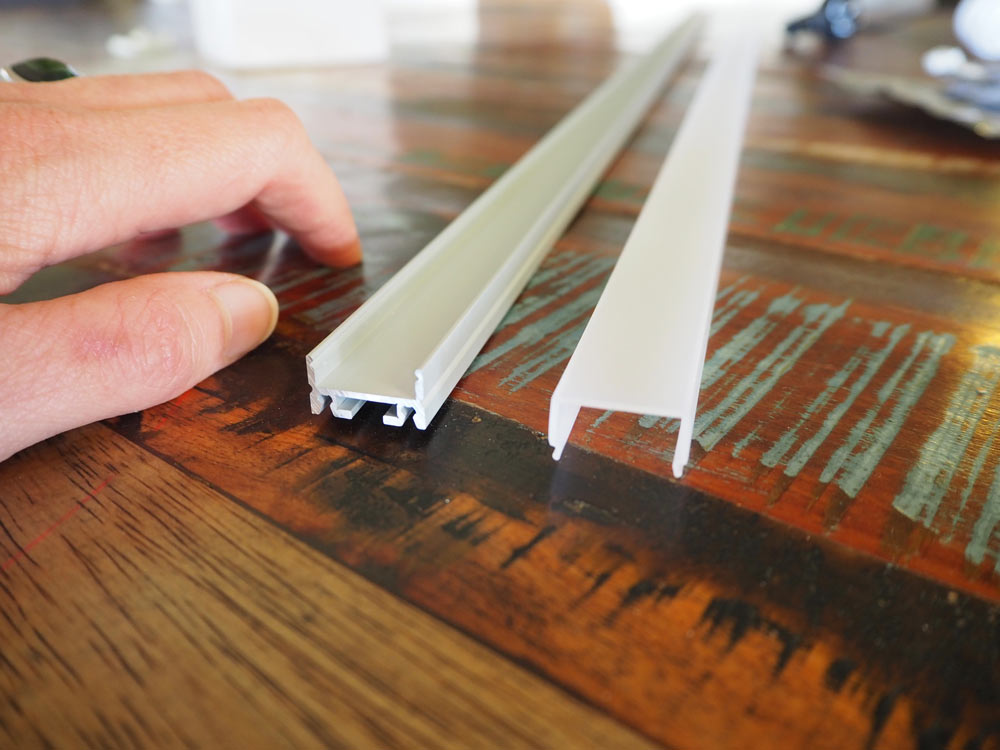
This is the aluminium channel and the diffuser for the Kiiko 8 (and my hand for scale!)
I’m normally a “let’s get the instructions and follow them step-by-step” kind of chick. Drives hubby a little crazy. So, I did it his way this time. Let’s see if we can just figure this out. It was so fantastically simple, instructions were not required at all!
STEP 1: Unroll the LED lighting strip and stick it into the channel.
I laid the lighting strip out in the channel, and working from one end, peeled the adhesive backing off, and gently pressed the strip down onto the aluminium channel.
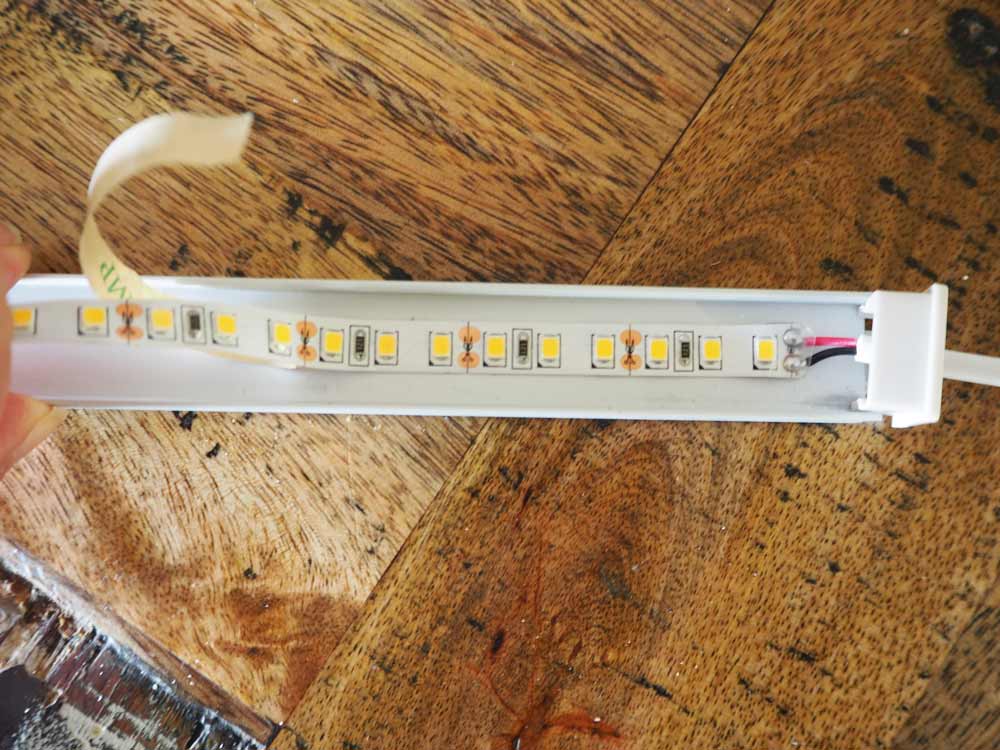
Removing the adhesive backing from the LED strip and placing it into the channel
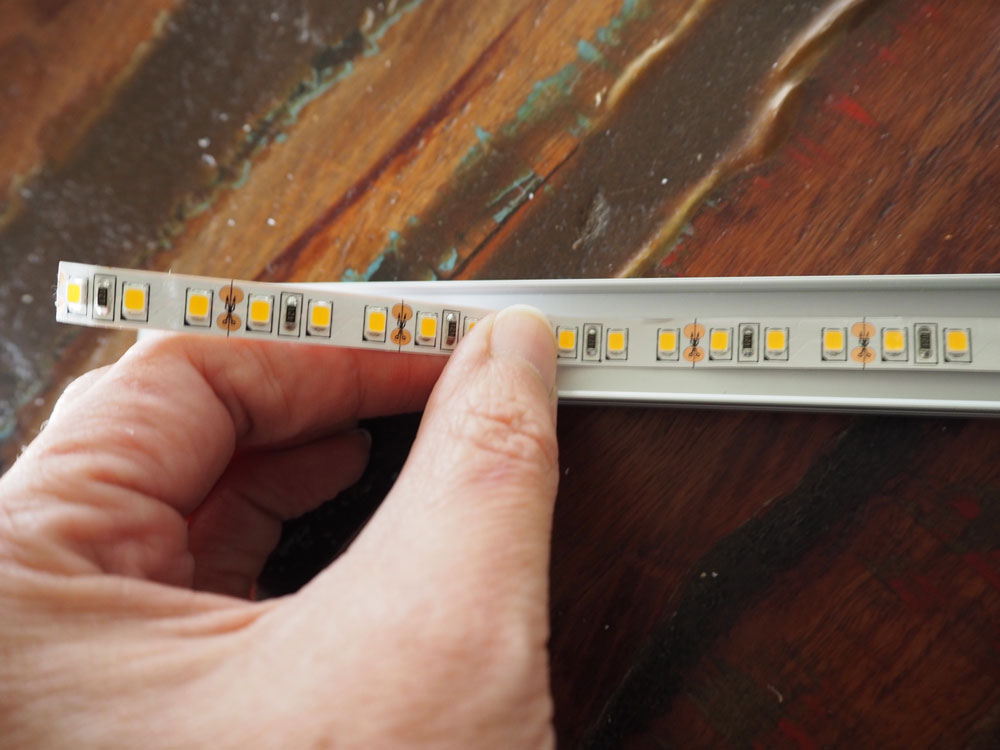
Gently sticking down the LED strip right to the end of the channel
STEP 2: Fix the diffuser over the channel
The diffuser is the frosted plastic cover for the front of the light channel (you can also choose a clear one if you like). It clipped in simply, and I could slide it as I needed to, to align the end of the diffuser, with the end of the channel, to make sure all was flush.
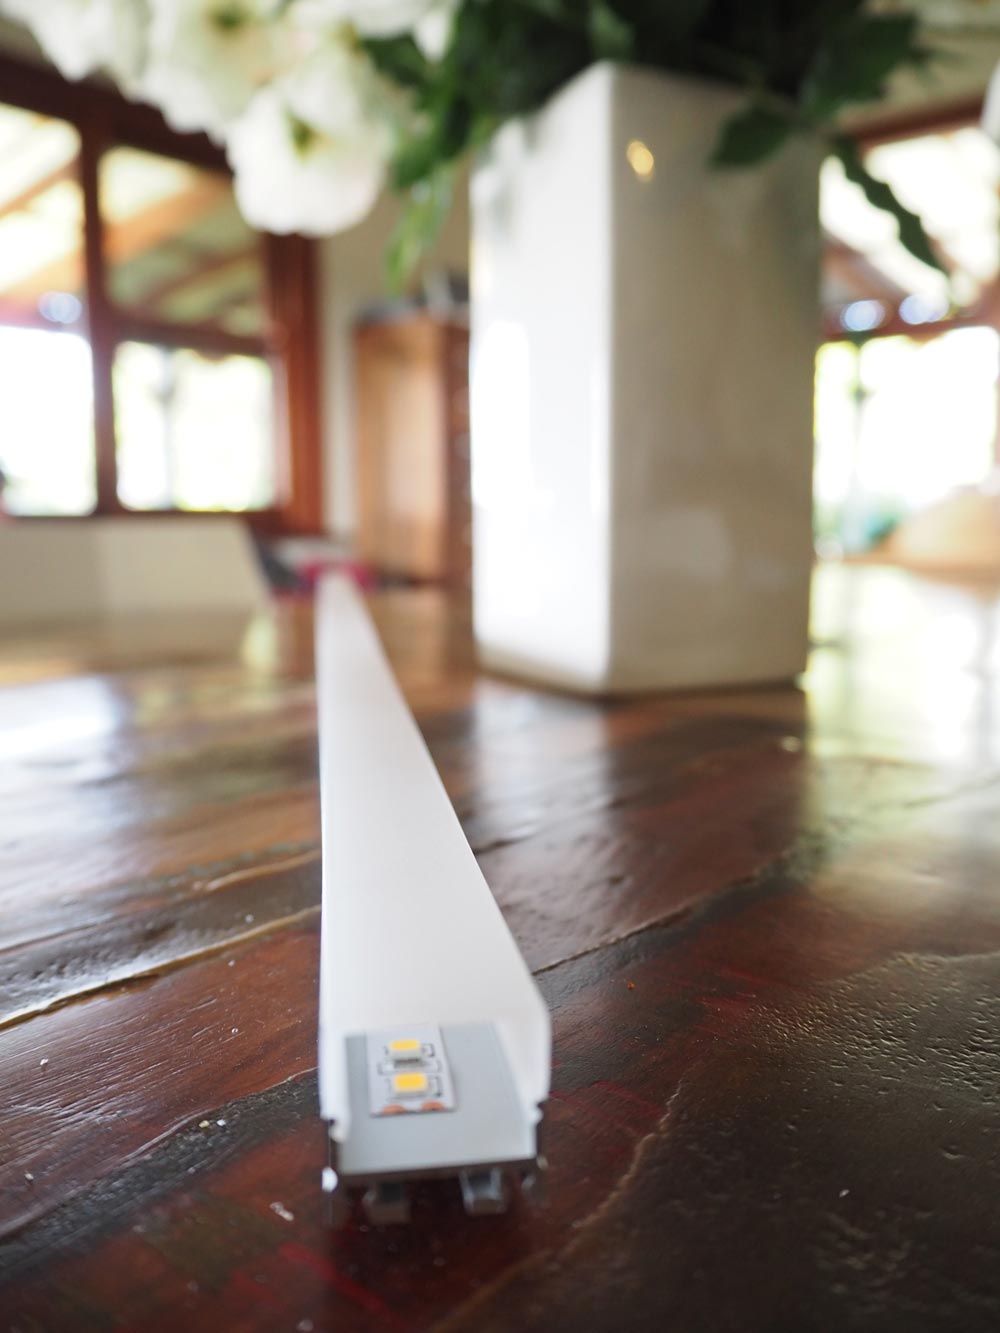
Here you can see the diffuser clipped onto the aluminium channel, with the LED light strip inside
STEP 3: Slide on the end caps
One end cap is already slid over the power cord attached to the transformer. I clipped this into place, and then grabbed the second end cap, and clipped it in too.
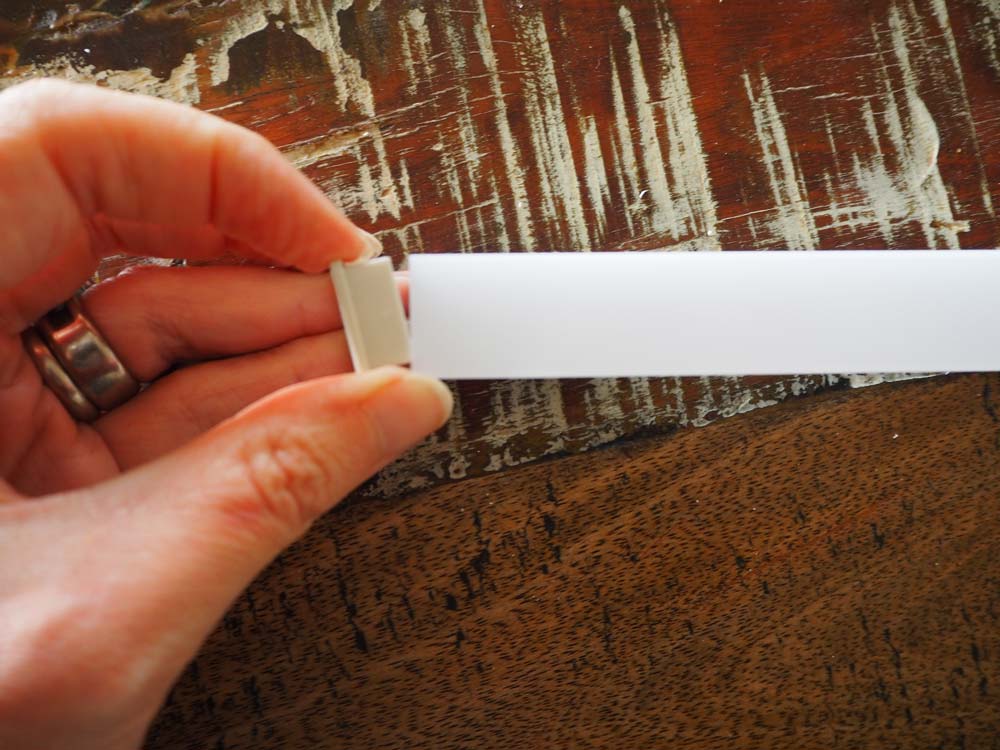
Sliding the end cap onto the end of the fixture
STEP 4: Attach the power cord to the transformer
The connection here is little, so it was just a case of making sure I had things around the right way before connecting the two parts.
Then, test it works …
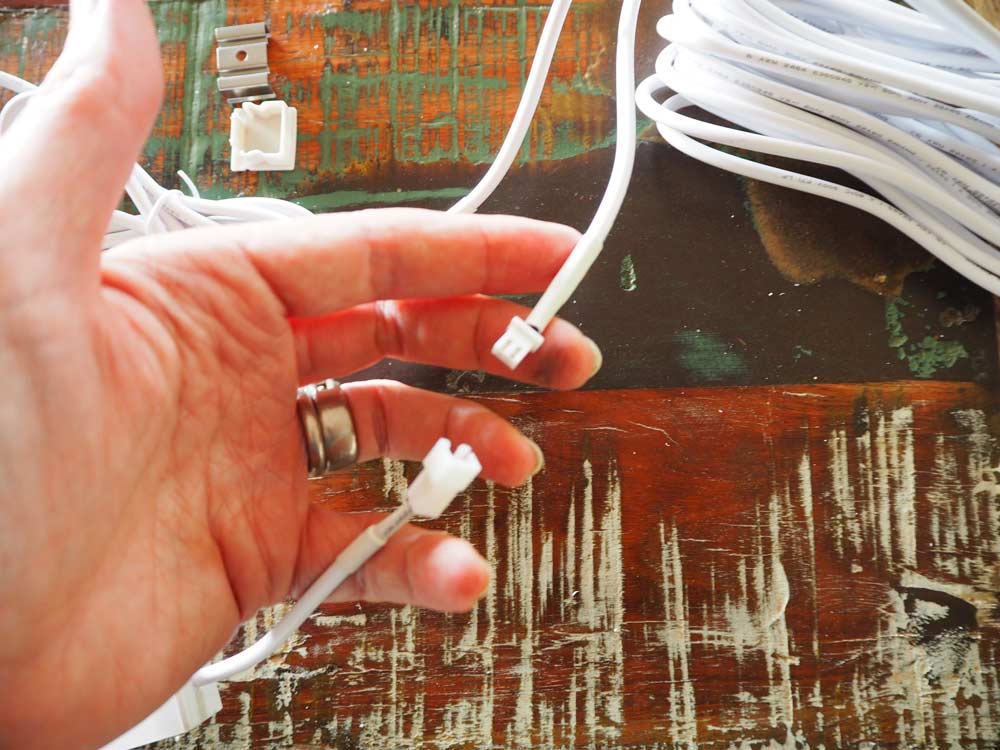
Plugging in the power to the light fitting!
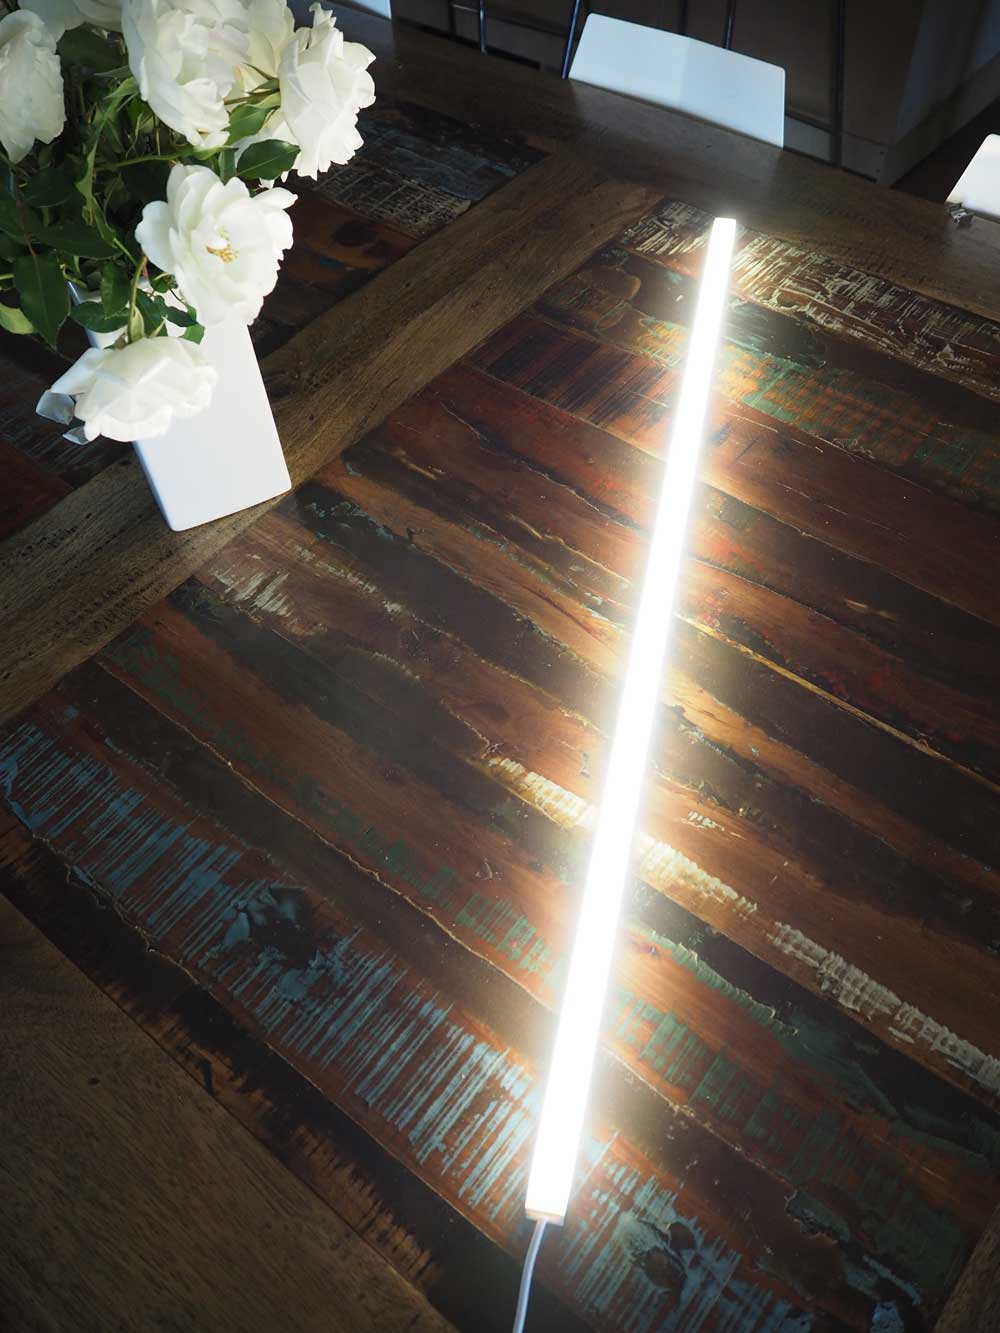
It works! Doesn’t it look gorgeous?
STEP 5: Figure out where you want to fix it
The fixing brackets can get fixed into the wall and then the light fitting can get clipped into those clips. I’m still figuring out where I want mine to go, so I’m using blue-tak for now – which by the way – works well!
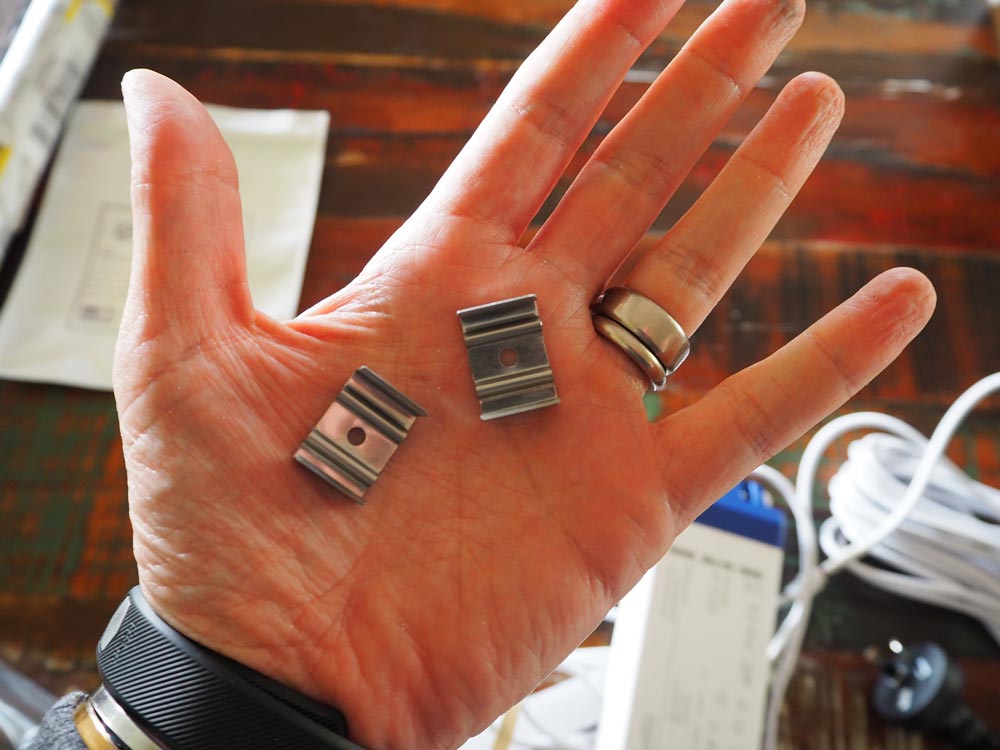
The small metal clips you can screw into your wall or ceiling (or joinery, or whatever) to fix your light fitting!
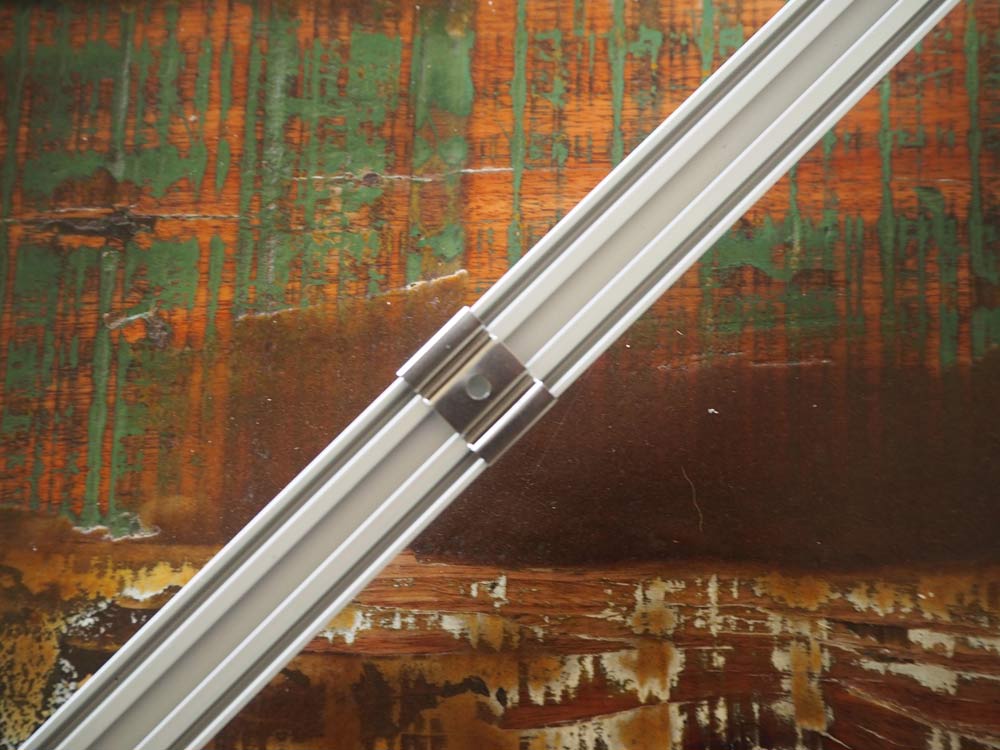
These clips neatly clip onto the channel.
STEP 6: Fix light strip into clips, plug in and turn on
And VOILA! How good does it look over my drawing board? I love that I now have a light source above me, so I don’t cast shadows over my work (like I did with the previous light fitting I used).
Now – you don’t have to use it as a ‘plug-in’ light like I am. You can get an engineer to wire it in, so you can turn it on and off with a switch on the wall!
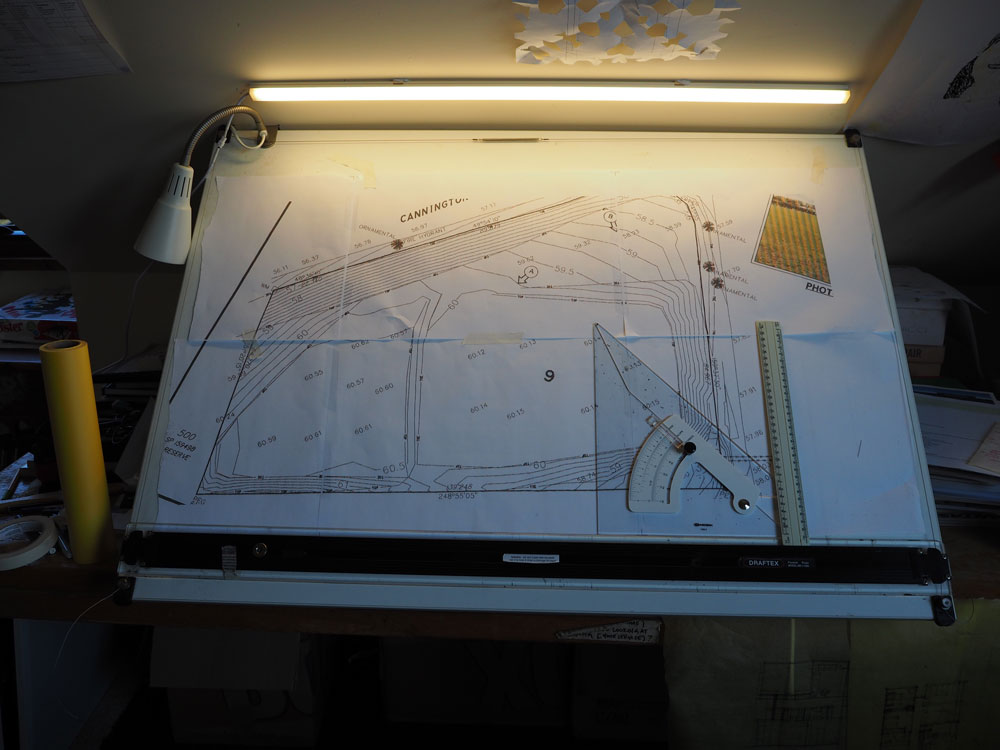
Installed, and sitting proudly over my drawing board – doesn’t it look great!
So – Verdict?
The fixture is so neatly detailed, was super easy to assemble, and has provided a brilliant quality of light for my drawing board. I love it!
So, how about you? Have you checked out where you could use Kiiko LED in your new home or renovation?
I’ve been able to organise with Kiiko a fantastic UA Community only offer. If you head to their website at www.kiiko.com.au/undercoverarchitect you’ll be able to access a $25 discount to use on your first order.
Check it out, and start building your Kiiko LED strip lighting now! And let me know how you go – take a piccy, post it on Instagram, and tag @undercoverarchitect and @kiikoled. We’d love to see your handiwork!!
And to start listening to Season 3 of the podcast, click here.
 With over 30 years industry experience, Amelia Lee founded Undercover Architect in 2014 as an award-winning online resource to help and teach you how to get it right when designing, building or renovating your home. You are the key to unlocking what’s possible for your home. Undercover Architect is your secret ally
Leave a Reply